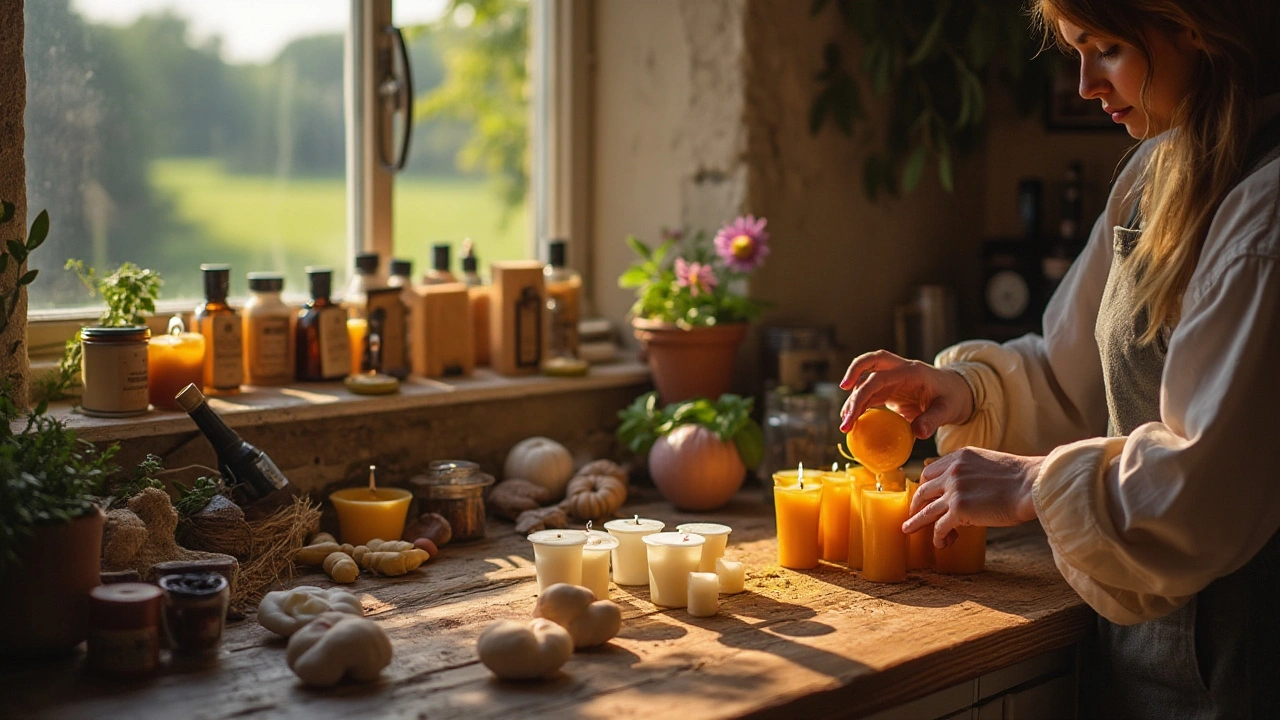
Aromatherapy candles are more than just a source of light; they are a gateway to a realm of peace and tranquility. Creating your own at home can transform a simple activity into a therapeutic journey, enhancing your living space with evocative scents and soft glows. Whether you're looking to unwind after a long day or set the mood for relaxation, crafting your own candles allows for personal customization in scent and appearance.
This guide is designed to take you through the enchanting process of candle making, step by step. You'll discover how to blend essential oils, the importance of selecting the right wax, and techniques to ensure a clean burn every time. With the right tools and a bit of patience, you can create candles that are uniquely yours, offering a fragrant escape tailored to your preferences.
Gathering Your Supplies
Embarking on the journey of crafting your own DIY candles requires a careful assembly of supplies that ensure both quality and safety. To start, selecting your wax is essential. Soy wax has gained popularity due to its clean-burning properties and its sustainable source, making it an excellent choice for beginners and environmental enthusiasts alike. Paraffin wax, while traditional and easily available, often contains impurities that can cloud the delightful experience you are aiming for. Beeswax candles, on the other hand, offer a natural aroma and tend to burn longer, but they are a bit pricier. Understanding these options allows you to choose a wax that fits both your ethical stance and your desired burn quality.
The next consideration is your wick. A properly sized wick ensures an even burn and maximizes the lifespan of your candle. Cotton wicks are often preferred for the natural candles due to their clean burning properties. However, the wick's diameter should match your container's size. For instance, a 3-inch diameter container would ideally require a medium-sized cotton wick. Too small, and you'll end up with tunneling wax; too large, and the candle will burn too quickly, possibly creating smoke. Some candlemakers prefer wooden wicks for their unique crackling sound, adding an auditory dimension to the experience.
No candle is complete without a container or mold. Glass jars are a popular choice; they not only showcase the handcrafted beauty of your creation but are also durable and reusable. The heat-resistant nature of glass helps ensure safety, minimizing risks during the burning process. Alternatively, silicone molds offer a range of shapes and are easy to pop the candles out of once they've hardened. Consider the aesthetic you're aiming for—a rustic mason jar, a sleek, modern cylinder, or an intricate, shaped mold can dramatically transform the ambiance.
As we move to one of the most delightful aspects—choosing essential oils—there's a balance to strike between potency and harmony. Essential oils such as lavender, eucalyptus, and lemon provide both fragrance and therapeutic benefits that can enhance your home’s atmosphere. It's crucial to choose high-quality essential oils to ensure the effectiveness of aromatherapy. When combining oils, aim for a balanced blend; often a ratio of 3:2:1 (top note, middle note, and base note) can help create a well-rounded scent. Notably, blending essential oils is more art than science, allowing your creativity to shine.
Finally, assembling your tools is key to a smooth candle making experience. A double boiler or a make-do bowl over a pot of simmering water method is necessary for melting wax without direct heat. The precision of your ingredients can be managed with a good digital scale, ensuring that your measurements are accurate. Today’s candlemakers also often use a thermometer to achieve the perfect temperature for pouring; wax that's too hot can crack as it cools, while too cold doesn't bond well with additives. A stirring stick and a heat-proof surface to work on, and you're ready to start your aromatic adventure.
“Choosing your supplies carefully transforms the candle making process into an artful practice,” says Linda Morse, a respected herbalist and DIY enthusiast. “By selecting materials you connect with, you not only enhance your home’s ambience but also create a personalized retreat.”
In selecting your materials, the initial investment may seem daunting, but remember that even these choices are your first step into the meditative process of creation. Each decision—you, the creator, are giving shape to your intention, shaping every candle into an experience rather than just an item. When well-informed, this selection process allows you to tailor each aspect of your candles to personal preferences, bringing art, wellbeing, and creativity into a harmonious blend.
Choosing Essential Oils
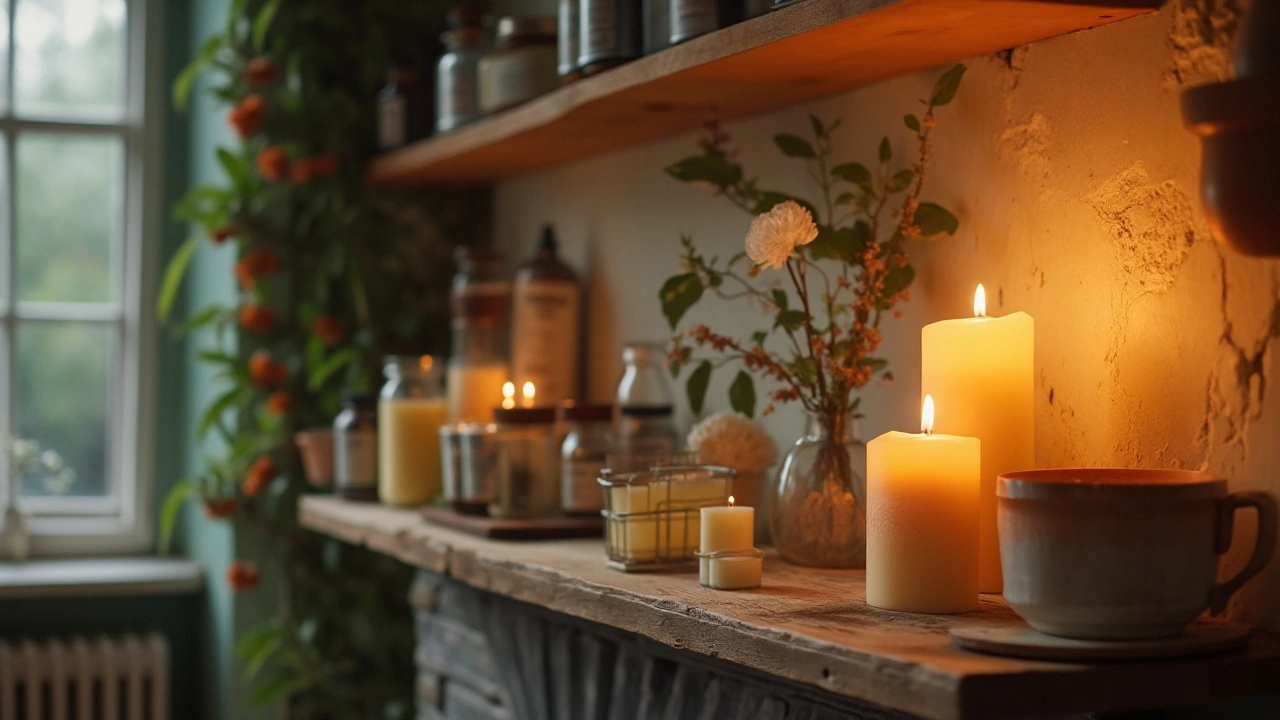
Diving into the world of essential oils can be both exhilarating and a tad overwhelming, thanks to the sheer variety available, each with its unique aroma and properties. Picking the right essential oils is pivotal when crafting DIY aromatherapy candles, as their scent forms the heart of your candle's therapeutic potential. Each fragrance not only provides an olfactory delight but also carries myriad health benefits, from relaxation to invigoration, helping to establish the mood and ambiance you desire.
Before you start blending, indulge in some detective work on the benefits associated with various oils. Lavender, for instance, is renowned for its calming properties and is often used to reduce stress and encourage restful sleep. On the other hand, invigorating oils like peppermint or eucalyptus are known to boost energy and enhance mental clarity. Bergamot, with its fresh citrus scent, is prized for its ability to alleviate tension. Rose oil can foster feelings of happiness and contentment, making it an excellent choice for romantic evenings or self-care spas at home. To find the perfect blend for your home fragrance, think about the intended effect on your mental and physical state.
"Essential oils are nature’s medicine cabinet in a bottle." — Dr. Josh Axe, a clinical nutritionist and essential oil expert.
The quality of essential oils varies significantly across the market, so it's prudent to purchase from reputable sources, ensuring you're getting a pure and therapeutic-grade product. Always check the label for indicators of purity, and consider asking for third-party testing verification if it's available. Synthetic fragrances might be cheaper, but they lack the healing properties and can sometimes lead to headaches or allergies, which is the opposite of what we're striving for with a natural candle.
While experimenting with blends, it's wise to begin with a smaller batch. Oils work synergistically, and while some combinations are classics, like lavender and chamomile, the art of blending lies in your nose and intuition. Use a tin or glass jar to sample your blends, mixing a few drops of primary oils, adjusting until you achieve the desired scent profile. Be mindful that candle making is as much an art as it is a science, where personal preference plays a big role. Create your signature scent by balancing stronger notes with those that are softer, considering aspects like evaporation rate during burning.
- Start with a base note, which is deep and persists through burning.
- Add a middle note to add complexity and character.
- Finish with a top note that brings a fresh and immediate burst of fragrance.
For beginners, using a tried-and-true recipe of two or three oils might be beneficial, gradually introducing more as you become comfortable. The ratio often recommended by seasoned candle makers is 30% base notes, 50% middle notes, and 20% top notes, creating a balanced and harmonious scent. When pondering your next aromatherapy session, let the oils sway your mood, uplift your spirit, and transform your home into a sanctuary of scent.
Candle Making Process
Embarking on the adventure of creating your own aromatherapy candles is like tapping into a world where science meets art. It's crucial to start with a keen understanding of the basic materials and the steps involved, which will guarantee that your creations are both visually appealing and aromatically effective. Begin by selecting a quality wax; soy wax is popular for DIY enthusiasts due to its clean burn and excellent scent throw, making it a sustainable choice for your personalized DIY candles. Once you have your wax, you’ll need to measure it out. For a standard candle, about half a pound of wax per eight-ounce candle jar should do the trick, but exact measurements depend on your container size.
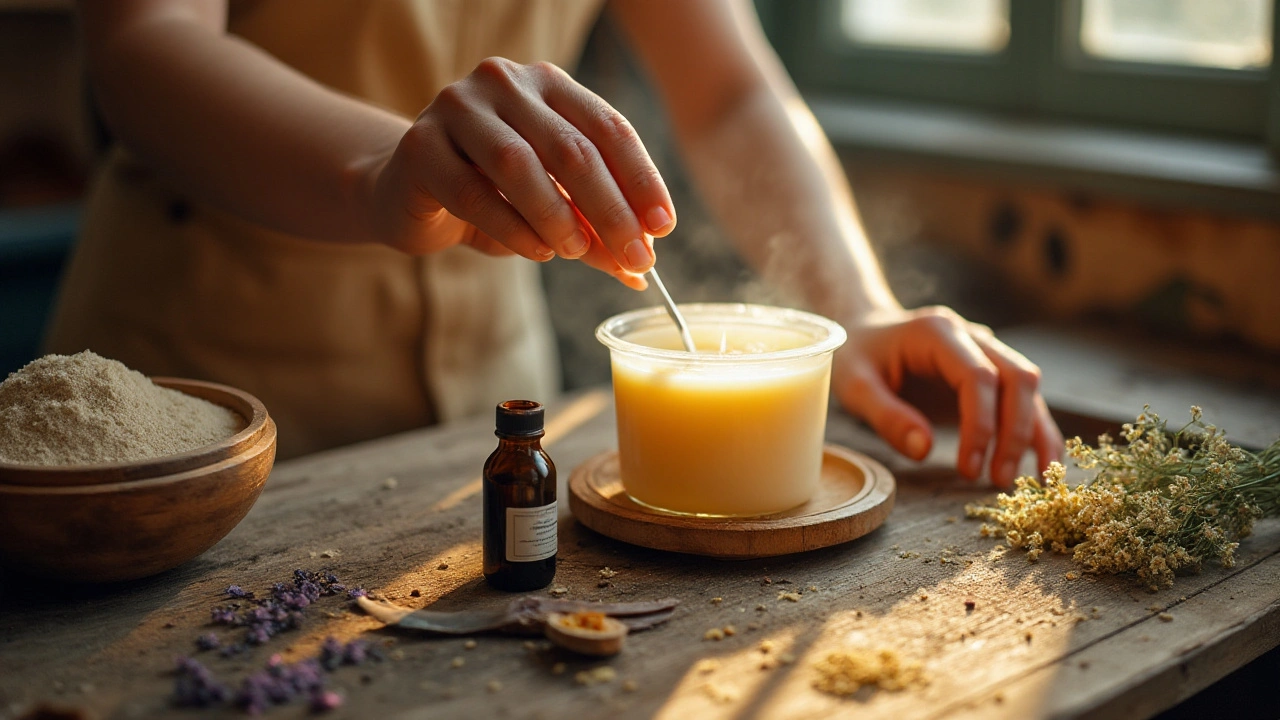
Next, it's all about the candle making process. Start by melting the wax; this is typically done using a double boiler setup, which provides gentle heat and helps prevent scorching. As the wax melts, it transforms into a mesmerizing clear liquid. This stage is crucial, as too high temperatures could degrade the natural properties of the essential oils you'll be adding later. Patience here is key; the slow melting process ensures that everything bakes evenly. You might remember Frank Sinatra's words:
“I feel sorry for people who don’t drink because when they wake up in the morning, that’s as good as they’re going to feel all day.” Although he spoke of spirits, the sentiment rings true for those who miss out on the creation of their own aromatherapy candles - it's a soothing experience that can set a gentle tone for the day.
With the wax prepared, the art of scent infusion begins. Adding essential oils is both a science and an art form. You need about one ounce of essential oil per pound of wax for optimal fragrance. Too much, and your candle might not burn well; too little, and you lose the aromatherapeutic benefits. Stir the oil into the melted wax for a consistent blend, and consider fragrances like lavender or eucalyptus to cater to a range of moods. Each fragrance has its unique note, and here you get to play the creator, crafting scents that turn your home into a personal paradise.
Assembling the candle is an equally critical part of the Candle Making Process. Secure the wick at the center of your container—metal wick holders or adhesive tabs work well for this task. Pour the fragranced wax carefully, ensuring the wick stays centered. The wax should cover about 90% of the container, leaving room for a potential top-up to smooth out any shrinkage or irregularities. Allow the candle to cool at room temperature, ideally resting undisturbed for about 24 hours. The patience you practice here ensures a professional finish, reducing the chance of imperfections that may occur if rushed.
Crafting candles is both rewarding and educational, offering the creator a fresh insight into the alchemy of everyday items. Not only do you learn more about the natural candles you'll be making, but you also deepen your connection to the calming scents that can transform a space. With practice, each element of the candle making process teaches you about balance, patience, and creativity—all invaluable skills in this fast-paced world.
Safety and Caring Tips
Crafting DIY candles is a rewarding experience, but ensuring safety both during and after the creation is crucial. First and foremost, work in a well-ventilated area to disperse any fumes from the melting wax. Always keep your workspace tidy, free from clutter, and ensure that your materials are within easy reach to avoid accidents. It's also wise to wear protective gear such as gloves and goggles to protect your skin and eyes from hot wax splatters. Use a thermometer to accurately monitor the wax temperature, preventing it from becoming too hot and causing burns or even a fire. Remember, wax has a flashpoint — a temperature at which it can ignite — so keep it below this level.
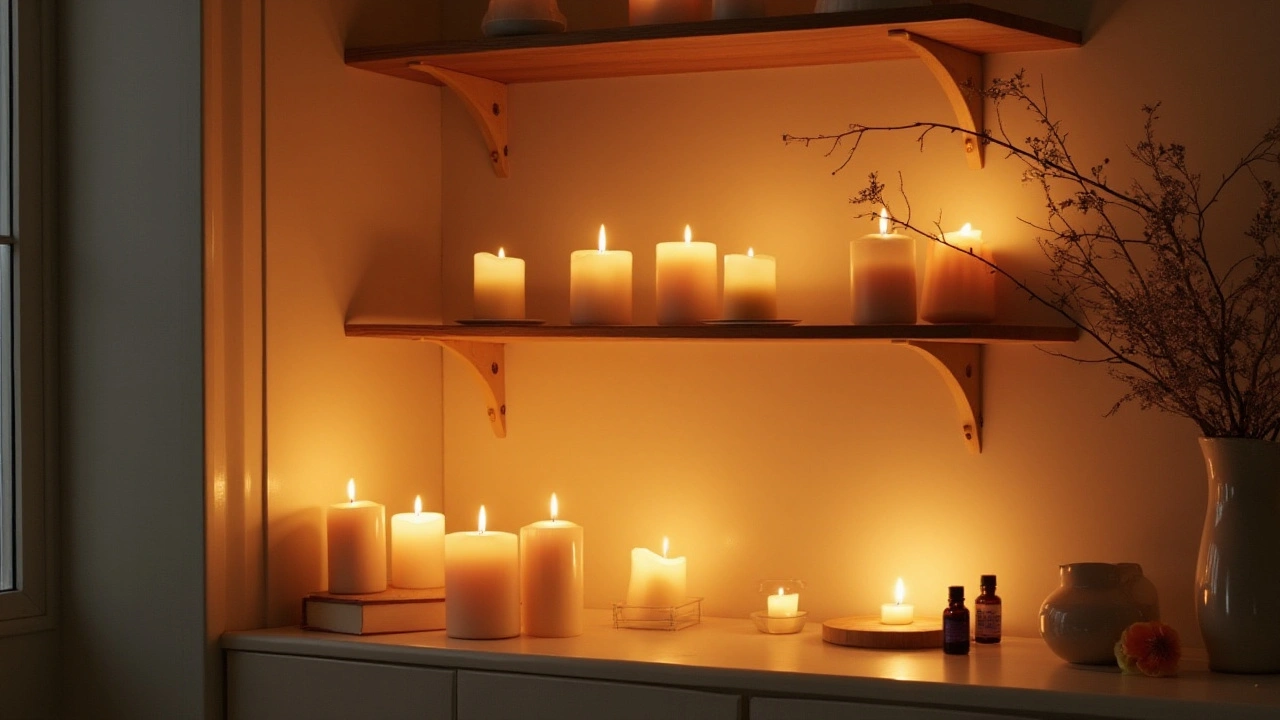
Once your aromatherapy candles are complete, place them on a stable, heat-resistant surface away from flammable objects. To ensure candles burn safely, keep the wick trimmed to about 1/4 inch. This prevents excessive flickering and a build-up of soot. One important tip is to never leave a burning candle unattended. It only takes a moment for a minor issue to turn dangerous. Furthermore, extinguish candles wisely; using a snuffer is the best way to avoid wax splattering. Regularly check your candle while burning — if the candle becomes too hot, the glass container, if used, might crack.
"Candles should never be burned for more than four hours at a time," advises the National Candle Association, emphasizing the importance of avoiding overburning.
To maintain the beautiful aroma of your natural candles, store them properly. Candle fragrance can degrade over time, so keep them in a cool, dark place when not in use. If you’re using tins or jars, ensure they are tightly sealed. This practice helps to lock in the essential oils scent, maintaining their home fragrance quality over time. Interestingly, well-cared-for candles not only last longer but also burn more cleanly, offering a better aesthetic and aromatic experience.
Here's a quick rundown of stats from a study showing that adhering to proper candlemaking and burning protocols can extend candle life by up to 25%. The study compared regularly maintained candles against those neglected during use. The well-maintained ones visibly outperformed others in uniformity and aroma retention. Analyzing these outcomes can improve how you handle and care for your DIY candles, ensuring they bring joy and relaxation for longer periods.

